Tag: Trending

  • What Binoculars Should You Buy for Hunting? (8x vs 10x Made Simple)

    What Binoculars Should You Buy for Hunting? (8x vs 10x Made Simple)

    Binoculars might be the most useful thing in your pack. You’ll spend far more time looking for animals than shooting at them. Good glass helps you find deer before they find you.

    Binocular boxes are covered in numbers, though. Here’s what they mean, so you can buy the right pair once.

    What the numbers mean

    Every pair has two numbers, like 8×42 or 10×42.

    • The first number is the power. An 8x makes things look 8 times closer. A 10x makes them look 10 times closer.
    • The second number is the size of the front lenses, in millimeters. Bigger lenses let in more light. A 42 is the most common size for hunting.

    You might also see “field of view.” That’s how wide an area you can see at once. A wider view makes it easier to spot movement and follow a running animal.

    8x or 10x?

    Both are good. It depends on where you hunt.

    Pick 8x if:

    • You hunt thick woods or brush where shots are close
    • You want a wider view and an image that’s easier to hold steady
    • You glass a lot at dawn and dusk

    Pick 10x if:

    • You hunt open country and look across big canyons
    • You want to see more detail far away
    • You plan to use a tripod some of the time

    The extra power of a 10x also shows every shake of your hands. If you can’t hold them still, you won’t see the extra detail anyway. Try both in a store if you can.
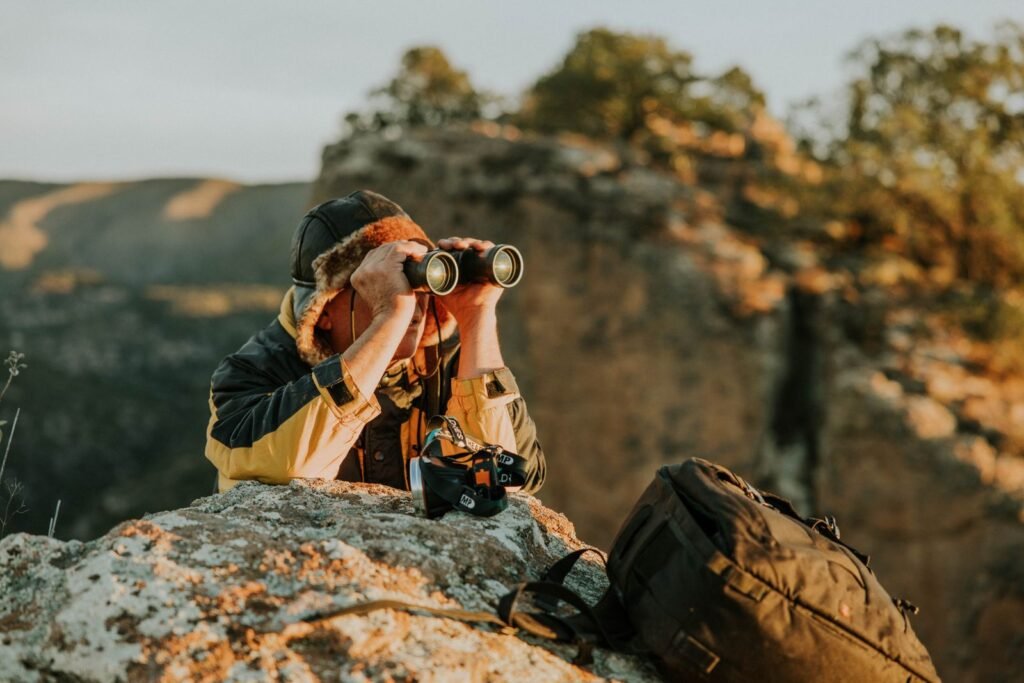
    Man resting on a rock while glassing a canyon with binoculars
    Photo from Pexels

    Why Arizona hunters care so much about glass

    Much of Arizona is wide open. Coues deer, mule deer, elk, and pronghorn often live in big country where you look a long way. Many Arizona hunters sit on a ridge and glass for hours instead of walking.

    Some glass with 10x or even bigger binoculars set on a tripod. A tripod holds the binoculars rock steady, so you can pick apart a far hillside slowly and carefully. If you hunt open country, it’s worth reading up on before you go.

    What to look for

    You don’t need to know how lenses are made. Look for these:

    • Waterproof and fog proof. Rain, snow, and cold mornings happen.
    • Fully multi-coated lenses. This means the lenses are coated to let in more light and cut glare.
    • Good eye relief if you wear glasses. The eyecups should twist down so you can see the full picture.
    • A comfortable size and weight. You’ll carry them all day.
    • A good warranty. Some brands will fix or replace binoculars even if you break them. Read the terms before you buy.

    How much to spend

    Binoculars come at every price, from cheap to very expensive. Think of it in three steps.

    Budget. A good starter pair will get you through your first seasons. Brands like Bushnell and Vortex make entry-level models many beginners start with.

    Middle. This is where most hunters end up. You get clearer glass, better light at dawn and dusk, and tougher builds. Vortex, Leupold, and Maven all sell models here.

    High end. Swarovski, Zeiss, and Leica make some of the best glass around. The difference is easiest to see in low light and after hours of glassing, when your eyes stay less tired.

    A good rule: buy the best pair you can afford without going into debt. Binoculars last for years, so this is a fair place to spend a bit more.

    Try before you buy

    If a store near you carries hunting optics, go look through a few pairs. Look at something far away and dark, like the shade under a tree. Check how sharp the edges look, not just the middle. Notice which ones feel good in your hands.

    A few tips once you have them

    • Use a harness. A chest harness keeps binoculars handy, protects them, and stops them from swinging.
    • Set the focus for your eyes. Most binoculars have a dial for one eye. Set it once and you’ll get a sharper picture.
    • Glass slowly. Look at one small piece of a hillside at a time. You’re looking for an ear, a leg, or the shine of an antler, not a whole deer standing in the open.
    • Rest them on something. A rock, your knees, or a tripod all help you hold steady.

    Safety reminder

    Never use your rifle scope to look at things you aren’t sure about. Pointing a gun at something you can’t identify is unsafe. That’s one more reason good binoculars belong on every hunt.

    Next step: See what else to pack in our first deer hunt gear checklist, or browse more optics posts.
  • How to Field Dress a Deer (Step by Step)

    How to Field Dress a Deer (Step by Step)

    Your deer is down. Your heart is still pounding. And now you’re standing over it, knife in hand, trying to remember what comes next.

    That’s normal. Almost every hunter feels a little lost the first time. Field dressing just means taking out the insides so the meat cools fast and stays clean. Do it soon after the deer is down and you’ll have better meat to eat.

    If you can, go out with someone who has done it before. Watching once is worth a lot. Until then, here’s the order to follow.

    Before you touch the deer

    Make sure it’s dead. Walk up from behind, away from the legs. Watch for breathing. Touch the open eye with a long stick. If it blinks, it isn’t done. Stay back and be ready for a second, careful shot.

    Tag it first. Many states want your tag filled out and attached before you move the animal. Follow the rules on your tag and in your state’s regulations.

    Check what you need to keep. Some states require you to leave proof of sex on the animal, or have rules about moving the carcass. Read your state’s rules before the hunt, not after.

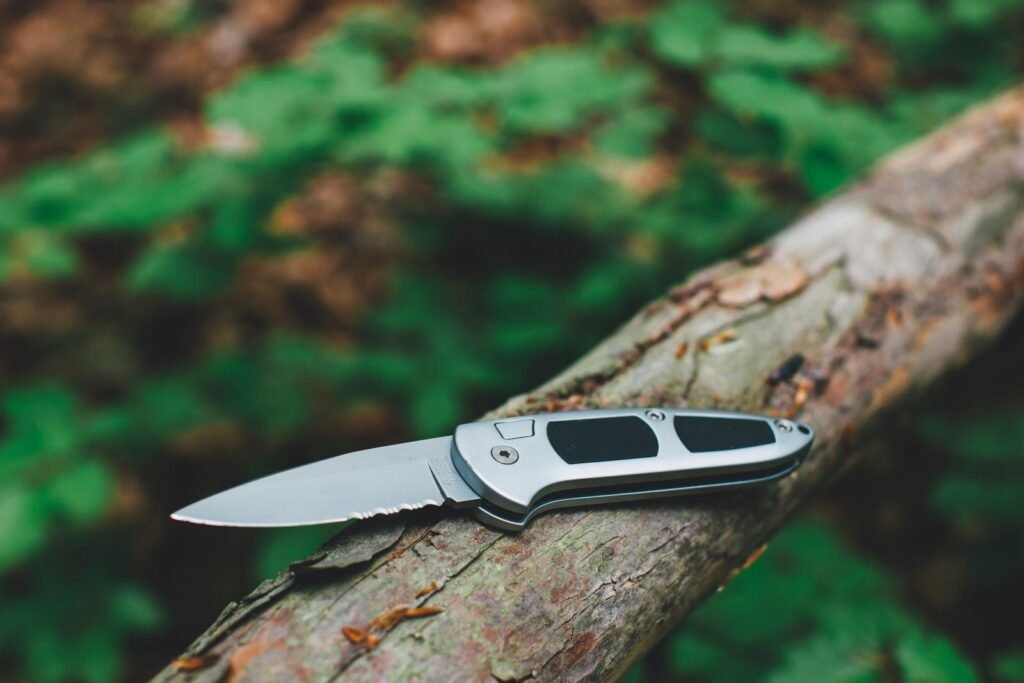
    Folding knife resting on a log in the woods
    Photo from Pexels

    What to bring

    You don’t need much. Keep this in your pack:

    • A sharp knife (a 3 to 4 inch blade is easy to control)
    • A small sharpener
    • Rubber or nitrile gloves, the long kind if you can find them
    • Rope or paracord to tie back a leg
    • Game bags to keep meat clean
    • Paper towels or rags
    • Water for washing your hands
    • Zip-top bags for the heart and liver, if you want to keep them
    • A headlamp, because it’s often getting dark by now

    Step by step

    Take your time. Slow and careful beats fast and sloppy, and it keeps you from cutting yourself.

    1. Roll the deer on its back. Point the head slightly uphill if you can, so things slide toward the back end. Tie one back leg off to a tree or bush, or have a friend hold it open.
    1. Make the first cut. Pinch up the skin just in front of the back legs. Make a small cut through the skin and thin belly muscle. Go shallow. You don’t want to poke into the stomach or guts.
    1. Open the belly. Slide two fingers into the cut, with your palm up, and push the guts down and away. Put the knife blade up, between your fingers, and cut toward the chest. Your fingers keep the blade off the guts. Stop at the bottom of the rib cage.
    1. Cut around the back end. Carefully cut around the rear opening so it comes free from the pelvis. Some hunters tie it off with string so nothing leaks. Take your time here, because this is where meat gets dirty.
    1. Open the chest. Cut through the thin wall of muscle (the diaphragm) that separates the belly from the chest. Cut it all the way around, close to the ribs.
    1. Free the windpipe. Reach up into the chest as far as you can. Find the windpipe and cut it. Be careful, since you’re cutting where you can’t see. Keep your other hand clear of the blade.
    1. Pull it all out. Grab the windpipe and pull down and back. The heart, lungs, and guts should come out in one big pile. Use your knife to free anything still holding on.
    1. Save the heart and liver if you want them. Put them in a clean bag and keep them cool.
    1. Drain and clean. Roll the deer over so the blood drains out. Wipe out the inside with paper towels or rags. Keep dirt, hair, and leaves out as best you can.

    Cool the meat fast

    Heat is the enemy of good meat. In Arizona, it can still be warm in the afternoon during deer season. That makes this part a big deal.

    • Prop the chest open with a stick so air can move through
    • Keep the deer in the shade
    • Get it back to the truck and on ice as soon as you can
    • If you’re quartering in the field, put the meat in game bags right away

    Don’t leave a deer lying in the sun while you take a long lunch. The longer it sits warm, the worse it tastes.

    Common first-time mistakes

    • Cutting too deep on the first cut. A punctured stomach makes a mess and can taint the meat. Go shallow.
    • A dull knife. It slips and makes you push harder. That’s how hunters get cut. Sharpen before the hunt.
    • Waiting too long. Field dress soon after the deer is down.
    • Forgetting gloves. They keep your hands clean and are worth packing every time.

    Getting it home

    Many states have laws against wasting game meat, so plan how you’ll get it out before you take the shot. Bring a friend, a pack frame, or a game cart. If you’re new, a lot of meat processors will cut and wrap your deer for you. Call ahead and ask what they need.

    Next step: Still putting your kit together? Use our first deer hunt gear checklist.

  • How the Arizona Big Game Draw Works (In Plain Words)

    How the Arizona Big Game Draw Works (In Plain Words)

    In a lot of states, you walk into a store and buy a deer tag. Arizona doesn’t work that way for most big game. For elk, pronghorn, and most deer hunts, you apply months ahead and hope your name gets drawn.

    The first time you look at it, the draw can feel like a puzzle. It isn’t that bad once someone lays it out. Here’s the simple version.

    Before you apply, always check the current rules and dates at azgfd.com. Deadlines and details can change from year to year.

    Why Arizona uses a draw

    There are more hunters who want tags than there are tags to give. So Arizona Game and Fish sets a number of permits for each hunt, and a computer picks who gets them. It’s fair, and it protects the herds.

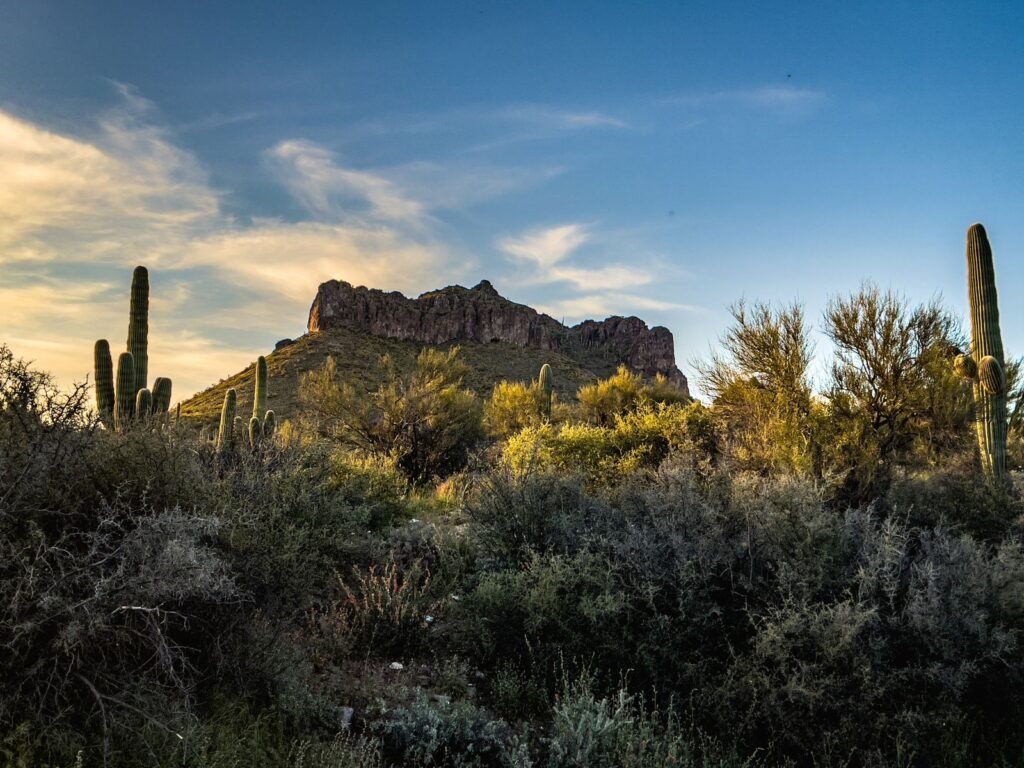
    Arizona desert with saguaro cactus and a rocky mountain
    Photo from Pexels

    The three draws each year

    Arizona splits big game into three draws. Roughly:

    • Pronghorn and elk. Applications are due in February.
    • Deer, fall turkey, fall javelina, bighorn sheep, fall bison, and sandhill crane. Due in June.
    • Spring javelina, spring bear, spring turkey, and spring bison. Due in October.

    The rules booklet for each draw usually comes out a few months before the deadline. Read it before you apply.

    What you need to apply

    • A free AZGFD portal account. This is where you apply, see your results, and check your bonus points. Arizona Game and Fish says the portal is the only place to find your draw results.
    • An Arizona hunting license. Anyone 10 or older needs one to hunt.
    • Your hunt choices. Each hunt has its own number. You can pick up to five.

    Your five choices

    When you apply, you list hunt numbers in order. First choice is the hunt you want most. You can add up to five.

    Think of them in two groups:

    • Choices 1 and 2 are your “dream” hunts.
    • Choices 3, 4, and 5 are your backups.

    This matters because of how the computer reads them, which is next.

    The three passes

    The draw runs in three rounds, called passes. Each time, every application gets a random number. Low numbers go first.

    Pass 1: The bonus point pass. For most species, up to 20 percent of the tags in each hunt go to people with the most bonus points. The computer looks at your first and second choices only. If you have zero bonus points, you skip this pass.

    Pass 2: First and second choices. Everyone who didn’t draw in pass 1 gets a new random number. The computer checks first choice, then second choice.

    Pass 3: Third, fourth, and fifth choices. Anyone still left gets another new random number. Now the computer checks your backup hunts.

    Arizona also limits how many tags can go to nonresidents, so most tags stay with Arizona residents.

    How bonus points work

    Every time you apply for a species and don’t get drawn, you earn a bonus point for that species. Each bonus point gives you one more random number in the draw. The computer uses your lowest one. More points means more chances at a low number.

    A few things to know:

    • Points are by species. Elk points only help with elk.
    • If you draw a tag, your points for that species go back to zero.
    • You can earn a loyalty bonus point by applying for the same species at least once a year, five years in a row. You keep it as long as you keep applying every year.
    • You can earn a hunter education bonus point too. Arizona Game and Fish lists its “Ethically Hunting Arizona” course as one way to get it.

    This is a bonus point system, not a preference point system. Even with zero points, you still have a chance. It’s just a smaller one.

    Applying as a group

    Up to four people can apply on one application. The computer averages everyone’s points and rounds to the nearest whole number. There has to be a tag for every person in the group, or the group gets passed over for that hunt.

    So if your buddy has lots of points and you have none, applying together pulls the group’s points down.

    If you don’t draw

    It happens a lot, especially for elk. You still get your bonus point. Then you have a few options:

    • Leftover tags. Tags that don’t get drawn are offered after the draw. Watch the Arizona Game and Fish site for dates.
    • Over-the-counter tags. Arizona sells some tags without a draw, including some for deer, elk, bear, javelina, turkey, and mountain lion. Check what’s open for your area and season.
    • Apply again next year, now with one more point.

    Quick tips

    • Apply every year for the species you care about, even if you just want the point.
    • Use your first two choices on hunts you’d really be happy with.
    • Look at past draw reports on the Arizona Game and Fish site to see how hard each hunt is to draw.
    • Mark the deadlines on your calendar. They come fast.

    Next step: New to all of this? Start with how to start hunting as a total beginner.

  • How to Start Hunting as a Total Beginner (Step by Step)

    How to Start Hunting as a Total Beginner (Step by Step)

    Maybe you grew up around hunters but never went yourself. Maybe you want to put your own meat in the freezer. Or maybe a buddy keeps asking you to come along, and you don’t want to look lost.

    Nobody is born knowing this stuff. Every hunter you’ve ever met had a first season. Here’s how to get to yours.

    Step 1: Pick one animal to start with

    Don’t try to learn everything at once. Pick one animal and learn it well.

    Good first choices:

    • Small game like rabbits, squirrels, or quail. Lots of chances, cheap gear, and you learn to move quietly and read the land.
    • Doves if you like to shoot. Fast action and a fun first hunt.
    • Deer or javelina if you want big game. More work, more planning, but very rewarding.

    In Arizona, small game and doves are easy to start with. Big game like deer and elk usually means entering a draw months ahead. We explain that in our post on how the Arizona draw works.

    Step 2: Take hunter education

    Even where it isn’t required, take it. You’ll learn gun safety, the rules, shot placement, and how to act in the field. It’s one of the best things a new hunter can do.

    Each state sets its own rules about who has to take it. In Arizona, kids ages 10 to 13 need hunter education to hunt big game. Check your state’s wildlife agency for the current rules where you live.

    Many states offer the course online with a hands-on field day. Some offer in-person classes too.

    Step 3: Get your license

    You’ll need a hunting license before you go. Most states sell them online now. In Arizona, anyone 10 or older needs one, and you buy it through the Arizona Game and Fish website.

    Some animals also need a tag or permit on top of the license. Read the rules for the animal you picked so you know exactly what to buy.

    Step 4: Read the regulations (yes, really)

    Every state puts out a hunting regulations booklet each year. It tells you:

    • Season dates
    • Legal hours to hunt
    • How many animals you can take
    • What weapons are allowed
    • Where you can and can’t hunt

    It’s not fun reading. But “I didn’t know” won’t help you with a game warden. Keep a copy in your truck or on your phone.

    Step 5: Find a place to hunt

    This is where a lot of beginners get stuck. Here are your main choices:

    • Public land. National forests and BLM land are open to hunting in most places. Arizona has a lot of it.
    • Private land. You need the owner’s permission first, every time.
    • State programs. Some states have walk-in or access programs on private land. Check your wildlife agency’s website.

    A hunting map app can show you where public land starts and stops. That keeps you from crossing onto private land by mistake.

    Step 6: Get the gear that matters (and skip the rest)

    You don’t need to spend a fortune your first year. Start with the basics:

    • A safe, reliable gun or bow you can shoot well
    • Clothes for the weather, in layers
    • Good boots that are already broken in
    • A knife
    • Water, snacks, and a small first-aid kit
    • A map, phone, and a way to charge it

    See our full list in what gear you need for your first deer hunt.

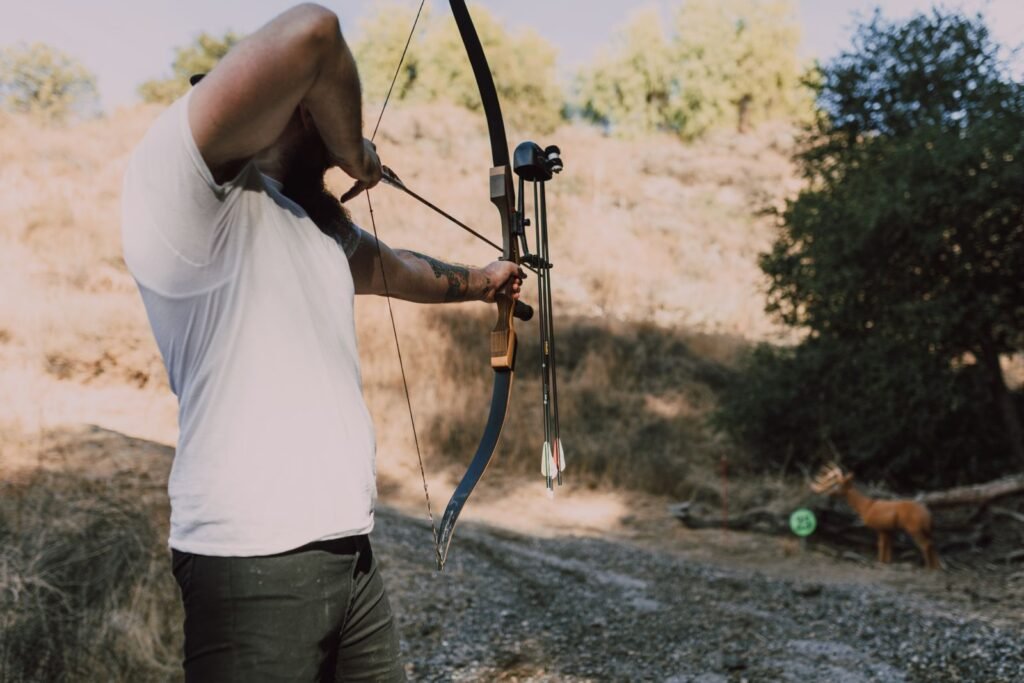
    Man practicing with a bow at a 3D deer target
    Photo from Pexels

    Step 7: Practice before the season

    Shoot a lot before you hunt. Practice from the same positions you’ll use in the field: sitting, kneeling, and using a rest. Know how far you can shoot well, and don’t take a shot past that.

    Go walk your hunting area before the season too. Look for tracks, droppings, trails, and water. You’ll be calmer on opening day if the place isn’t brand new to you.

    Step 8: Find someone to learn from

    Hunting with someone who knows what they’re doing is the fastest way to learn. Ask friends, family, or coworkers. Look for learn-to-hunt classes and mentored hunts. Arizona Game and Fish runs hands-on events through its Outdoor Skills Network.

    If you’d rather have a pro show you the ropes, a guided hunt is another way to go. We break that down in is a hunting guide worth the money?

    Step 9: Know what happens after the shot

    New hunters often forget this part. Once an animal is down, you have work to do. You’ll need to tag it the way your state says, field dress it, and get the meat cool fast. That matters even more in Arizona heat.

    Watch a few videos and, if you can, help someone else clean an animal before your own hunt.

    Don’t worry about getting it perfect

    You’ll make mistakes. You’ll spook animals and come home empty some days. That’s part of it. Every trip teaches you something.

    Start small, stay safe, follow the rules, and keep going.

    Next step: Read our post on what gear you need for your first deer hunt.